Troubleshooting
Dust ingest: how a leaking air filter element damages your screw element
A leaking air filter element lets dust reach the screw element, oil circuit and separator. Learn the failure chain, warning signs and replacement logic.
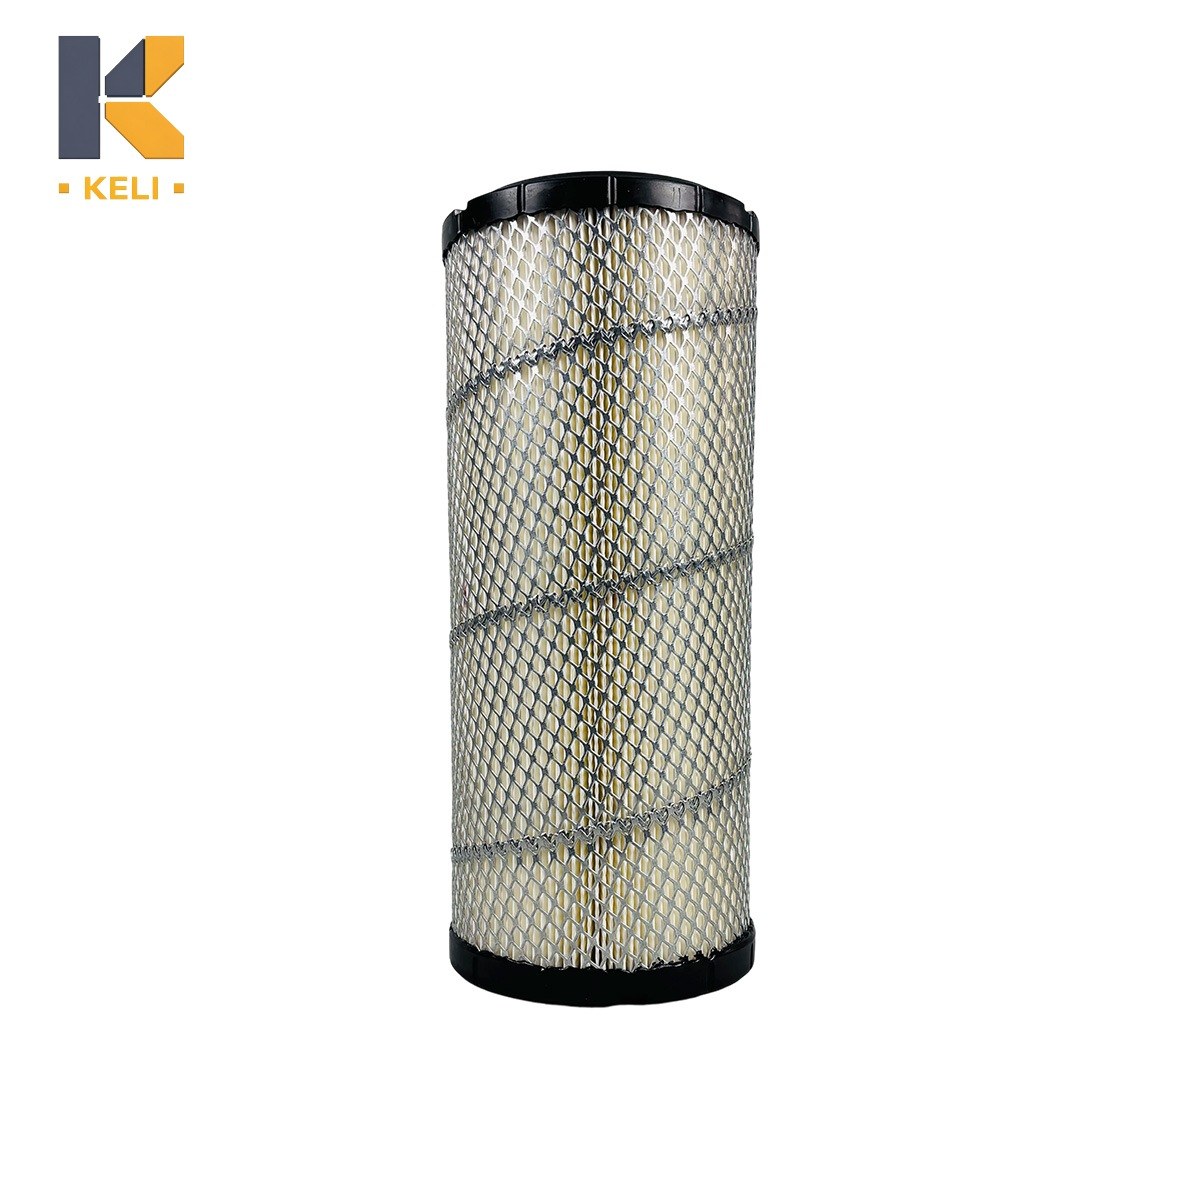
When an air filter element fails, the damage rarely stops at the filter. Dust that slips past a leaking element travels straight into the screw element, the oil circuit and the separator, and each step in that chain costs more to put right than the one before it. Knowing how the failure develops — and how to catch it early — is cheaper than rebuilding a compressor.
How dust gets past a filter that looks fine
An intake element rarely fails with a dramatic rupture. The common leak paths are quieter: a gasket that has hardened and no longer seals against the housing face, an element that was never seated evenly during the last changeout, or a replacement that looked dimensionally close but was never an exact match. Any of these leaves a gap, and intake air always takes the shortcut.
Media damage is the second path. A pleat creased during installation, a fold cracked by vibration, or media weakened by oil mist drawn back from the machine all give dust a way through while the element still looks serviceable from the outside. The filter keeps its shape; it has just stopped filtering everything.
What dust does inside the screw element
Screw elements run with clearances measured in fractions of a millimeter, and the rotor surfaces depend on an oil film for protection and sealing. Airborne dust that reaches the element acts as an abrasive: it disrupts the oil film, scores the rotor profiles and works into the bearings. The symptoms arrive gradually — slightly higher power draw, more heat to reject, a compressor that takes longer to build pressure.
By the time an operator notices real performance loss, the wear is already spread across the most expensive component in the machine. Intake filtration failures are diagnosed late and repaired expensively for exactly this reason.
The chain continues: oil contamination and separator overload
Dust that passes the intake element does not stay in the screw element. It circulates with the oil, loads the oil filter faster than its rating allows, and eventually reaches the air-oil separator. A separator sized for normal oil mist now faces a particle load it was never meant to hold, so its differential pressure climbs early and oil carryover rises with it.
In practice this shows up as separators replaced far ahead of schedule, growing oil consumption, and downstream equipment receiving dirtier air than the specification promised. One leaking intake element quietly shortens the service life of every filter after it.
How to spot intake leaks before the damage shows
Three checks catch most leak paths. First, inspect the sealing face and gasket whenever the housing is opened — a hardened, flattened or crumbling gasket will not reseal. Second, after every changeout, confirm the element seats square in the housing and the cover closes without force. Third, look for dust streaks on the clean-air side of the housing; they mark exactly where air has bypassed the media.
Inside the machine, an oil filter and a separator that both load up unusually fast point to something upstream passing dirt. Treat repeated early separator clogging as an intake problem, not a separator problem.
Replace on condition and environment, not just the calendar
A fixed interval is only a starting point. Duty hours, ambient dust load, humidity and intake location all shift how fast an element reaches its limit, so a compressor in a clean machine shop and one beside a sanding line rarely share a service life for the same part. Track the interval that actually works for each machine and keep spares matched to that rhythm — many operations on a steady maintenance cycle restock consumables every three to six months.
Change the element before differential pressure forces the issue, and log what you find on removal — the removed element is a direct record of how your site loads a filter.
How Keli-Parts matches the element before quoting
Keli-Parts has supplied air compressor parts since 2002 and has manufactured filter elements at its own factory in Ningbo since 2006, with more than 3,000 standard parts covering screw and piston machines. Because an exact fit is the difference between filtration and a leak, fitment is checked before quoting: outer diameter, height, end cap form, thread and sealing face dimensions are confirmed against the compressor model you supply.
The check costs you nothing extra: send the compressor model and the old part number, and the quote that comes back — usually within one working day — already corresponds to a part that seats correctly in your housing.
Send your compressor model and the old part number to sales@keli-parts.com or WhatsApp +86 15757463901, and we will verify fitment before quoting and reply with a quote within one working day.