Troubleshooting
Why your screw compressor keeps throwing oil into the air line
Oil carry-over raising your compressor oil bills? Learn the causes, how to confirm the separator is at fault, and what to check before ordering a replacement.
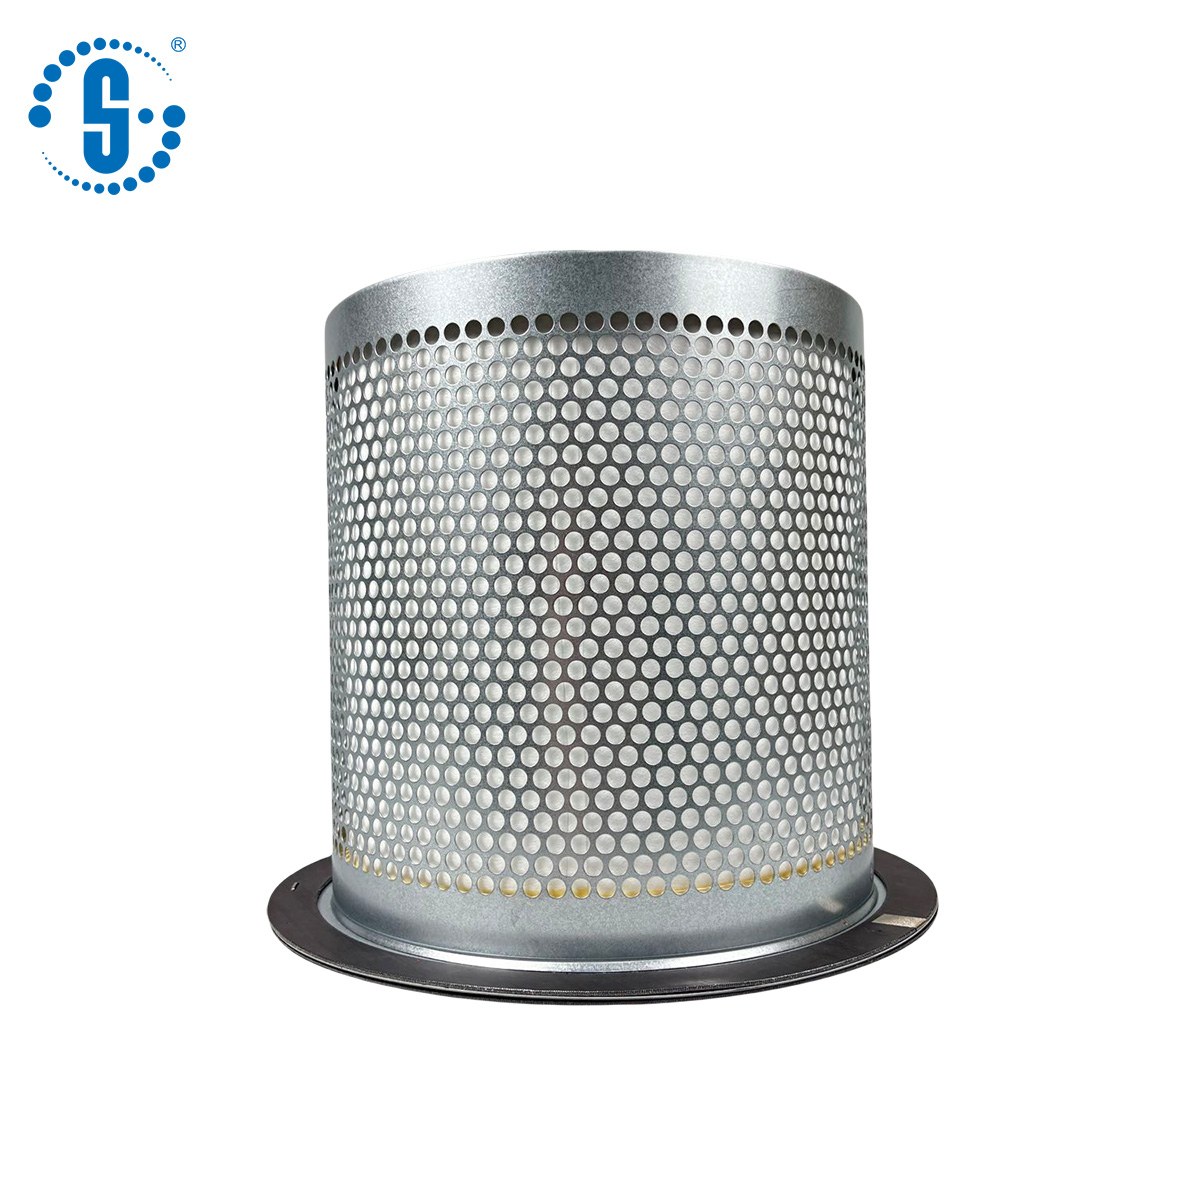
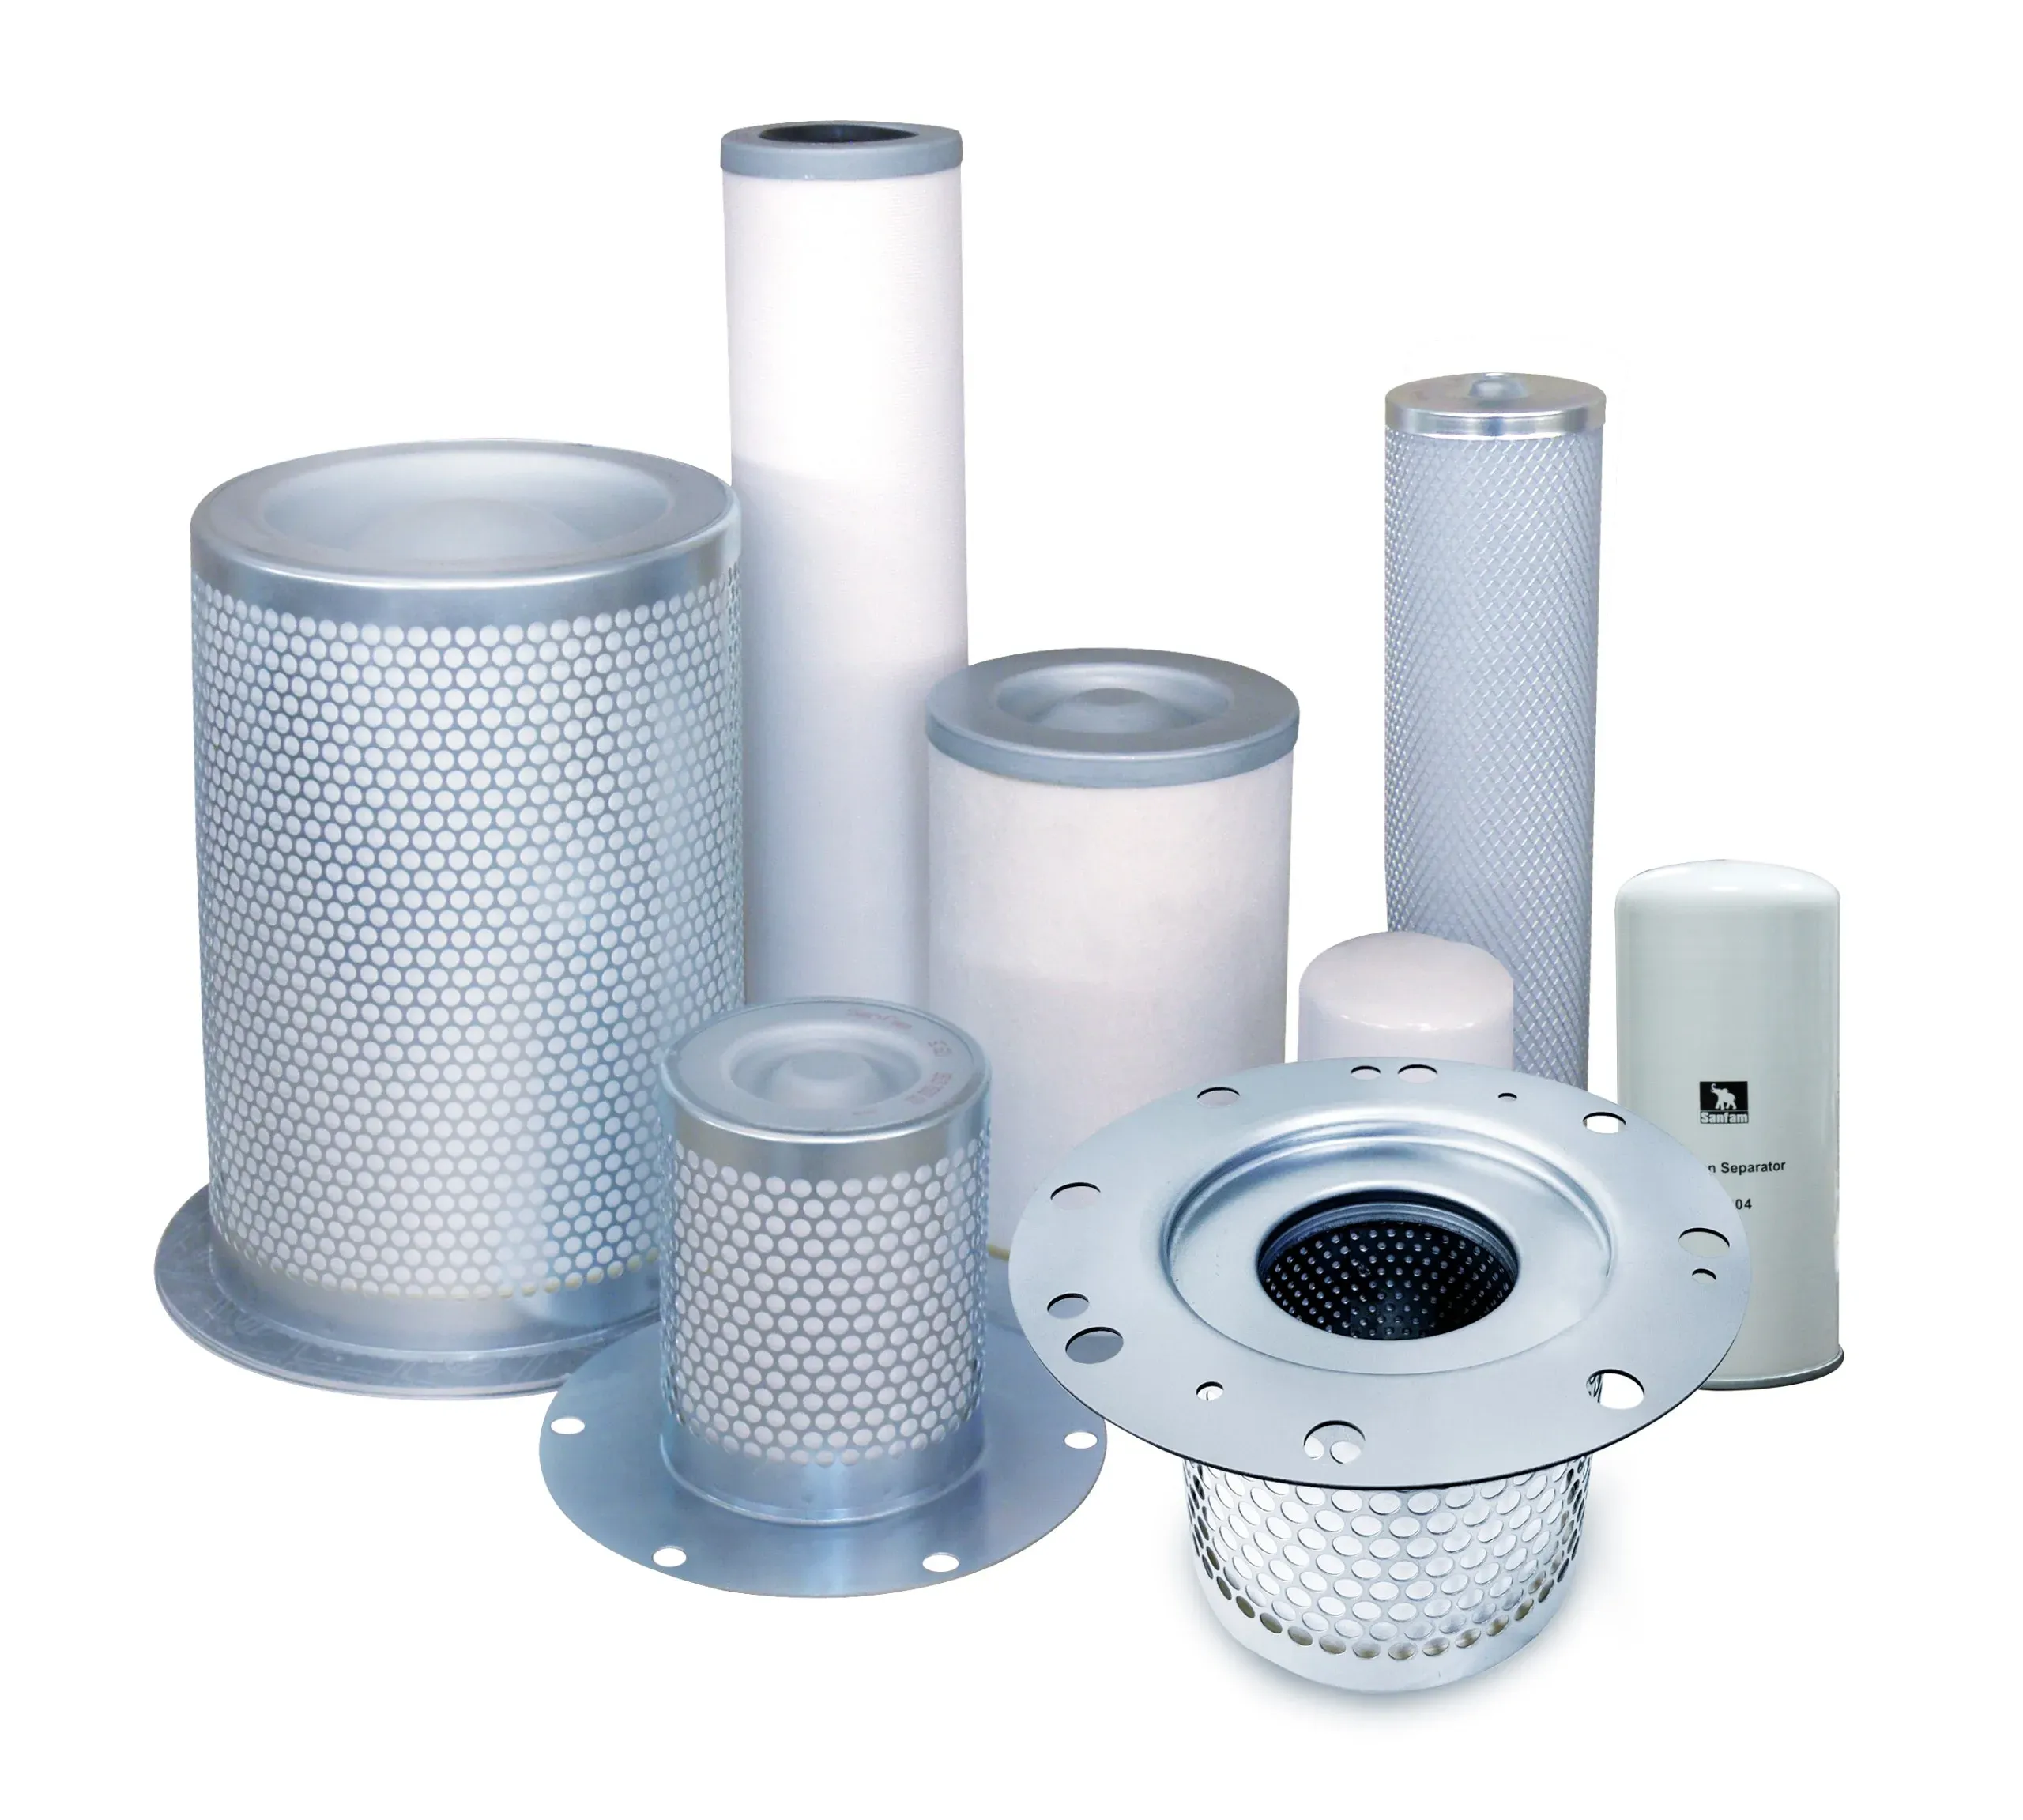
Oil in the air lines, rising oil consumption, and an oily slurry at the receiver drain usually point to the same fault: oil carry-over past the separator element. The hard question for whoever buys the parts is whether the element is worn, the machine has a secondary fault, or the last replacement never matched the machine in the first place. This guide covers the symptoms, four typical causes, and how to order a replacement that actually fits and functions.
What oil carry-over looks like in daily operation
The signs tend to arrive in a predictable order. Oil top-ups become more frequent even though nothing on the machine was changed. Oily water then starts showing up at the condensate drains and inside the receiver tank. In more severe cases, oil mist reaches downstream equipment: pneumatic tools gum up, coalescing filter elements clog early, and processes such as spraying or packaging begin to show contamination.
Each symptom costs money in a different way: replacement oil, extra drain maintenance, premature downstream filters, or rejected product. Catching the cause early keeps the repair small, which is why it pays to know the four failure patterns below.
Cause 1: a separator element that does not match the machine
An air-oil separator is sized for the flow and oil circulation of a specific compressor. If the installed element is built for a smaller flow than the airend delivers, oil mist does not get enough media area to coalesce, and it passes straight through. The wrong height or an internal oil path that differs from the housing design causes a similar problem, because oil cannot drain back to the sump as intended.
This is why a separator that looks identical can still cause carry-over. Two cartridges may share a diameter and thread yet differ in media area, sealing face, or return-oil design. If carry-over started right after a change-out, compare the old part number with what was installed before you check anything else.
Cause 2: a blocked scavenge line
Oil that coalesces inside the element drains back to the sump through a scavenge line, usually through a small orifice or strainer in the tank. When that line plugs with varnish or debris, oil accumulates at the bottom of the separator tank until the air flow starts entraining it and pushing it downstream. A blocked scavenge line can produce heavy carry-over even with a brand-new element installed.
Before ordering parts for recurring carry-over, have maintenance pull and clean the scavenge strainer or check the orifice. It is a low-cost check that rules out a common cause that no replacement part can fix.
Cause 3: a sealing failure at installation
The seal between the element and the housing is what forces all of the air through the media. A damaged O-ring, a scratched sealing face, or an element seated crooked gives the air a bypass path, and oil travels with it. Seals also age: a gasket that has hardened over years of heat cycles may not re-seal even when the element itself is new.
If carry-over began immediately after a change-out, re-open the housing and inspect the seal and seating surface first. Installing another element without correcting the seal condition will produce the same result.
Cause 4: running past the differential pressure limit
As the separator loads up over months of service, the pressure difference across it climbs. Past the limit the element was designed for, oil is forced through the media faster than it can coalesce and drain. Carry-over from an overloaded element builds gradually, which is why the differential pressure gauge deserves the same attention as the oil level.
If the gauge reading is high and oil consumption has crept up at the same time, the element has reached the end of its service life regardless of how many hours are on the counter.
How Keli-Parts verifies the separator before quoting
Most of the causes above trace back to fitment, so we check fitment before quoting. Send the compressor model and the old part number, and we verify the thread, the bypass valve opening pressure, and the sealing surface dimensions against the separator we would supply. Our range covers 3000+ standard parts for screw and piston compressors, and quotes normally go out within one working day, packing information included.
If the old part number is unreadable, a few photos of the nameplate and the element, with a tape measure across the diameter, height, and sealing face, are usually enough for a first verification.
Send the compressor model and old separator part number to sales@keli-parts.com or WhatsApp +86 15757463901; we will check fitment first and reply with a quote, packing included, within one working day.